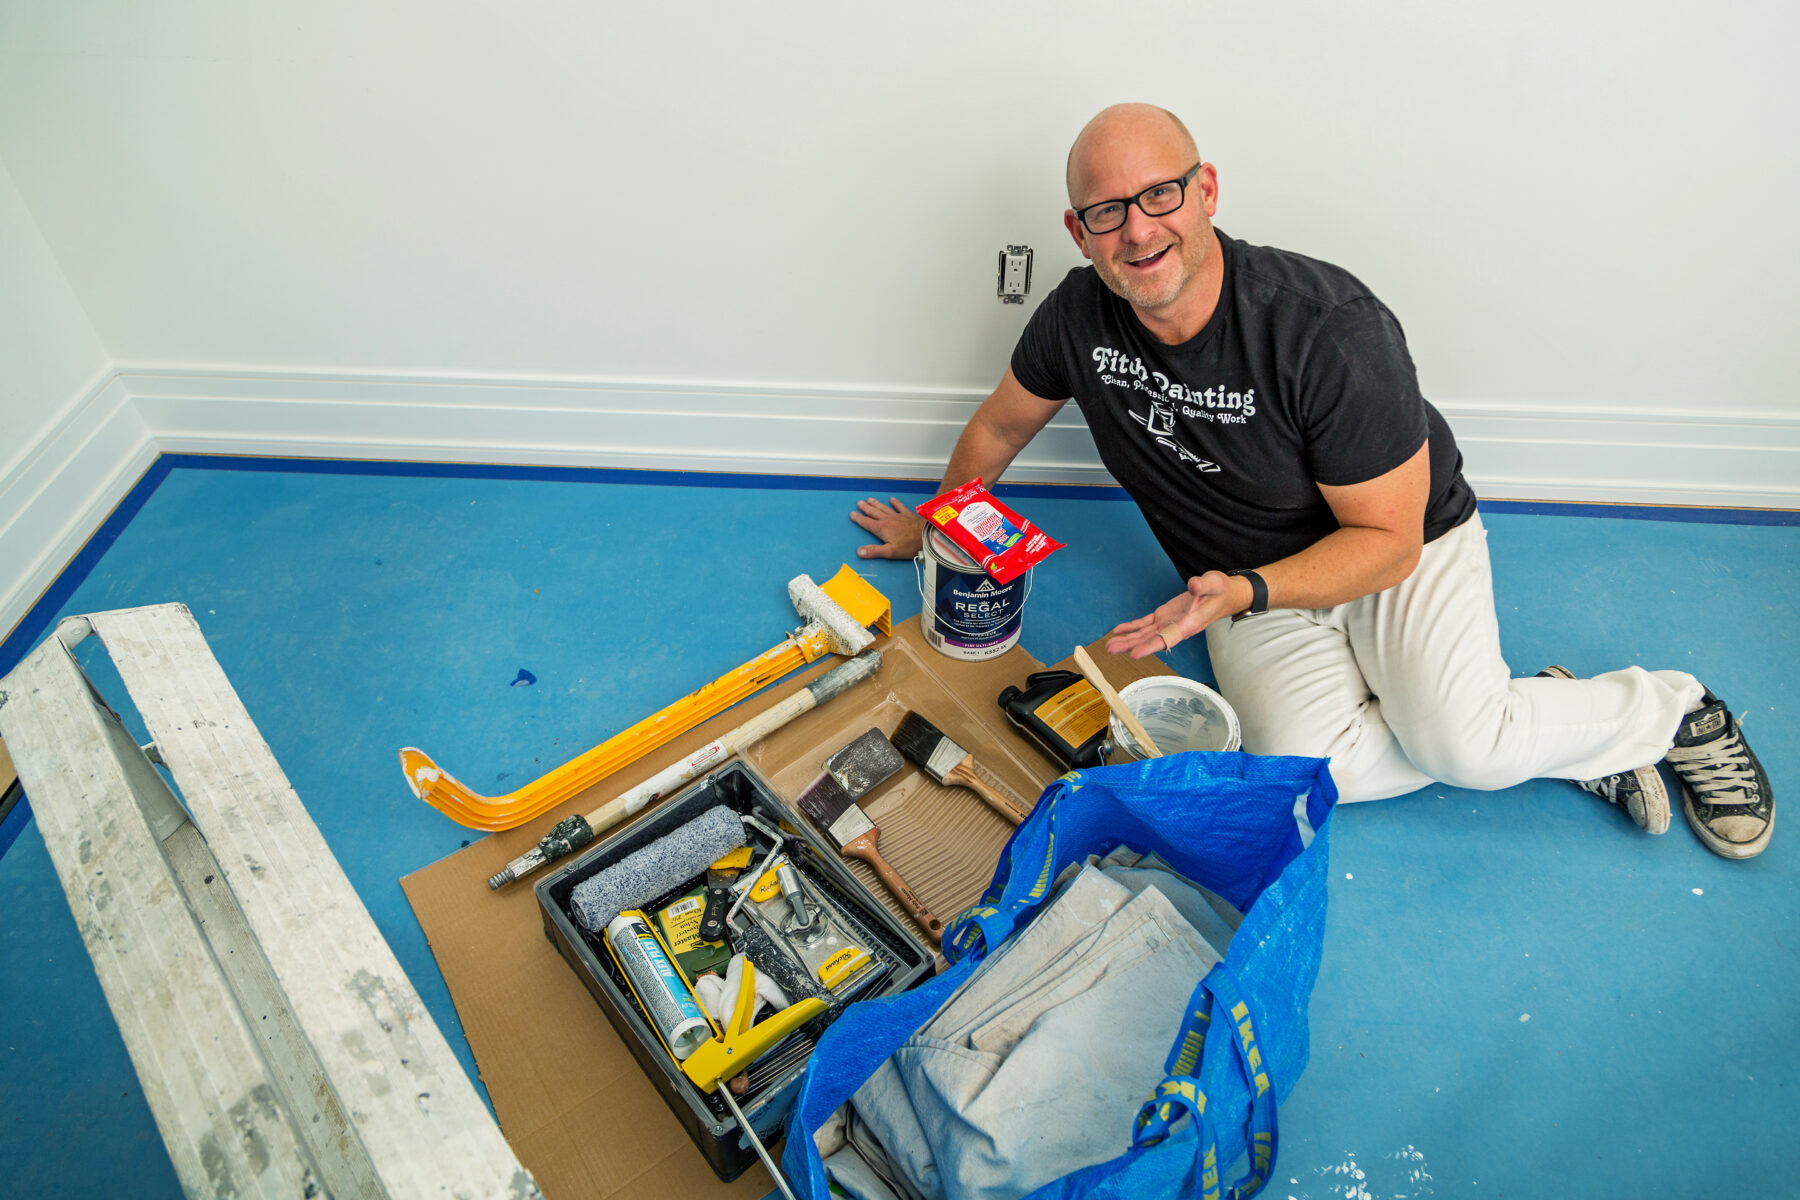
Prepping for success! Organizing tools and supplies before starting an interior painting project ensures efficiency and a flawless finish.
Painting A Room By Yourself
Painting a room yourself can be a rewarding and cost-effective way to refresh your space. However, to achieve DIY interior painting like a pro, you need the right approach, tools, and materials. We are here to guide you through every step of the process, from preparation to the final coat. In this comprehensive guide, we’ll cover everything you need to know about DIY interior painting like a pro, including ceilings, walls, crown moulding, doors, door frames, window frames, baseboards, and inside closets.
DI Y Interior Painting Step 1: Choose Your Colours
Selecting the right paint color is the foundation of any successful DIY interior painting like a pro project. The color you choose will define the ambiance, enhance the architectural features of the space, and complement your furnishings.
Step 2: Choose Your Sheen for a Professional Finish
The sheen (or finish) of your paint impacts durability, washability, and the overall look of your walls and trim. Choosing the right sheen is just as important as selecting the right color for DIY interior painting like a pro.
Step 3: Gather the Right Tools and Materials
The first step to DIY interior painting like a pro is using high-quality tools and paints. Investing in premium supplies will save you time and effort while ensuring a smooth and durable finish.
Step 4: Protect Your Space
Before opening a paint can, take the time to protect everything that shouldn’t get painted. DIY interior painting like a pro starts with a properly prepped space.
How to Prep the Room:
- Move furniture away from walls or cover it with plastic sheeting.
- Cover floors with drop cloths to prevent paint spills and splatters.
- Use painter’s tape to mask off baseboards, window trim, and door frames—no need to tape the ceilings.
- Remove outlet and light switch covers and tape over the openings to protect them.
- Ventilate the room by opening windows and using fans to reduce fumes.
Step 5: Surface Preparation – The Key to a Flawless Finish
A well-prepared surface ensures DIY interior painting like a pro results.
Walls & Ceilings:
- Inspect for cracks, holes, or dents and patch them with spackle.
- Lightly sand all surfaces for a smooth finish.
- Clean walls with a damp cloth or mild soap to remove dust and grease.
- Prime any stained or repaired areas to prevent flashing.
Trim, Doors & Baseboards:
- Caulk gaps between moulding and walls for a seamless look.
- Fill nail holes in trim with wood filler and sand smooth.
- Degrease doors and trim (especially around handles) to remove fingerprints and buildup.
- Sand all surfaces so paint adheres better.
Step 6: Choosing the Right Primer
Primer creates a smooth, uniform surface and enhances paint adhesion—essential for DIY interior painting like a pro.
Step 7: Painting the Ceiling First for a Flawless Finish
To maintain DIY interior painting like a pro, always start with the ceiling to avoid splatters on freshly painted walls.
Step 8: Painting the Walls – Achieve a Professional Look
Once your prep work is complete, it’s time to focus on the actual painting!
Best Paint Quality Levels:
- Budget-Friendly: Entry-level paints require multiple coats and may not be as durable.
- Mid-Grade: Offers better coverage and washability.
- High-End: Fewer coats needed, superior finish, and long-lasting durability.
Step 9: Painting Crown Moulding, Baseboards & Trim Like a Pro
Professional techniques ensure pro results.
Pro Tips for Painting Trim:
- Use a high-quality angled brush for precision.
- Paint in long, smooth strokes to avoid brush marks.
- Apply at least two coats for a rich, even finish.
Step 10: Painting Doors, Door Frames & Window Frames for a Polished Look
Here’s a few tips that will make door and frame painting easier.
- Remove or tape around door hardware for a clean finish.
- Paint doors in sections, following the wood grain.
- Use a lint-free small roller for a smooth, brush-free look.
Step 11: Painting Inside Closets
Closets deserve the same great approach as the rest of your home.
- Use lighter colors to keep the space bright.
- Use a small roller to navigate tight spaces.
- Let the paint dry fully before rehanging shelves or rods.
Step 12: Painting Bifold Closet Doors with Ease
Bifold doors can be tricky, but this makes it easier.
- Remove the doors from the track for easier painting.
- Paint edges first, then the panels.
- Use a sprayer for a smooth finish or a foam roller for even coverage.
DIY Interior Painting Last Step: Final Cleanup & Touch-Ups for a Professional Look
A well-executed project means fewer touch-ups later.
- Remove painter’s tape carefully while paint is still slightly wet.
- Reattach switch plates and hardware.
- Check for touch-ups and blend any uneven spots.
- Dispose of used materials responsibly.
Conclusion: Painting Like a Pro for a Stunning Finish
With the right techniques, tools, and patience, you can achieve DIY interior painting like a pro that results in a stunning, professional-looking paint job.
For top-quality paints and tools, visit Irvine Carpet One in Barrie for expert recommendations.
📞 Call us today at 705-627-4453
🌐 Visit us at FitchPainting.com
📍 Serving Barrie, Orillia, Innisfil, Midhurst, Minesing, Collingwood, Springwater, Wasaga Beach, New Tecumseth, Coldwater & surrounding areas!
Connect With Us on Social Media
Stay inspired with our latest projects, painting tips, and exclusive promotions:
🔹 Facebook
🔹 Instagram
🔹 TikTok
🔹 YouTube
🔹 LinkedIn
🔹 Twitter (X)
If you ever need expert help or want a high-end, professional finish, Fitch Painting is here to assist you with your residential interior painting needs! 🎨✨