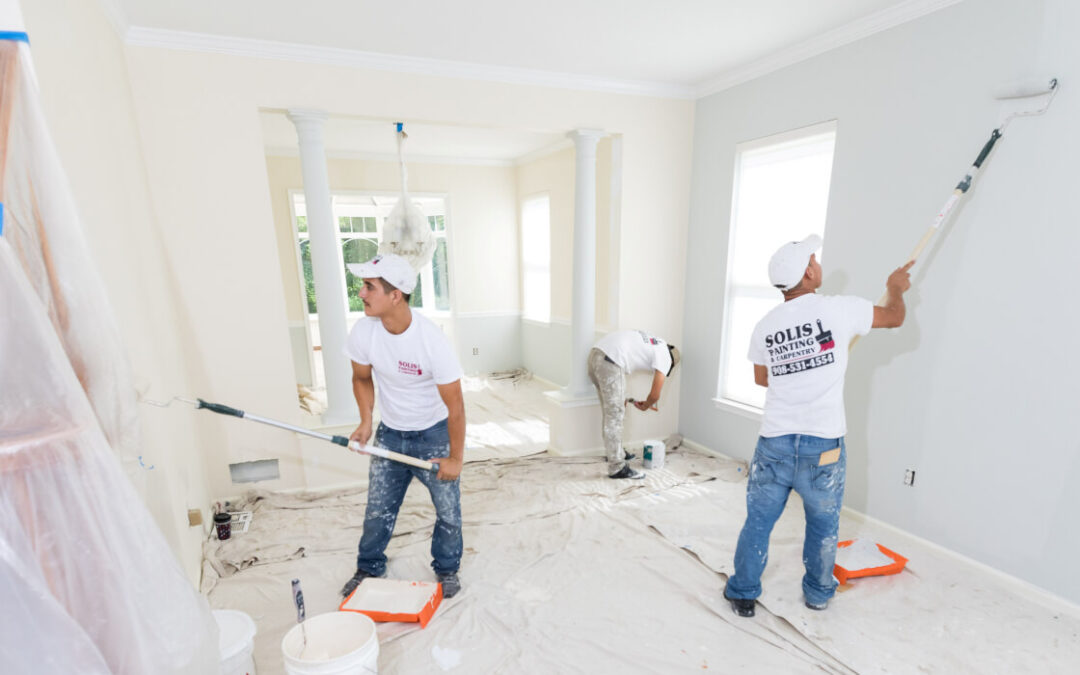
A well-maintained paint finish can transform any space, keeping it vibrant and inviting. However, everyday life—furniture bumps, accidental scratches, and subtle wear—can leave walls looking less than perfect. Instead of repainting the entire room, touching up specific areas can restore the original charm. A professional-grade result requires more than simply brushing paint over blemishes; it demands careful preparation, the right tools, and proper technique. Whether you’re a homeowner aiming for a flawless touch-up or an industry professional refining your skills, the strategies below will help you match the results of a top-tier Interior house painting Service such as Fitch Painting.
Assess the Wall’s Condition First
Before picking up a paintbrush, evaluate the wall’s condition thoroughly. Not all imperfections can be covered with a quick coat of paint.
-
Type of Damage: Identify whether you are dealing with small nail holes, surface scratches, scuff marks, or peeling paint.
-
Underlying Issues: Check for moisture damage, mold, or cracks that might require repair before painting.
-
Paint Wear: Determine if the entire wall shows signs of fading. In such cases, a full repaint may be more suitable.
This initial inspection ensures that you approach the job with the correct method and avoid quick fixes that fail to last.
Gather the Right Materials
Professional results depend on professional tools. Having everything ready not only saves time but also ensures consistency.
-
High-quality touch-up paint (from the same batch or perfectly color-matched)
-
Soft, high-density foam rollers and angled paintbrushes
-
Painter’s tape and drop cloths
-
Fine-grit sandpaper (220-grit is ideal)
-
Mild detergent or wall cleaner
-
Putty knife and lightweight spackle
-
Microfiber cloth or tack cloth
Investing in quality materials prevents streaking, uneven texture, and visible brush strokes.
Cleaning and Prepping the Surface
Dirt, grease, and dust can interfere with paint adhesion and create an uneven finish.
-
Wipe the area with a damp microfiber cloth to remove loose dust.
-
For greasy spots, use a mild detergent and rinse with clean water.
-
Let the wall dry completely to avoid trapping moisture beneath the paint.
Once dry, lightly sand the area to smooth any raised edges or rough textures. After sanding, remove dust with a tack cloth. This simple step is vital for blending the new paint seamlessly into the existing surface.
Repair Minor Imperfections
Touch-ups on a damaged surface will only highlight flaws. Address small dents, holes, or cracks before painting:
-
Fill holes and cracks with a lightweight spackle using a putty knife.
-
Allow the filler to dry completely.
-
Sand the patched spots with fine-grit sandpaper until perfectly smooth.
If the wall has larger cracks or signs of water damage, solve the underlying issue first. Painting over unresolved problems will result in peeling or bubbling later.
Match the Original Paint Color and Finish
Color matching is often the trickiest part of a touch-up. Even if you have leftover paint from the original job, natural aging and exposure to light can slightly change its shade over time.
-
Leftover Paint: If stored correctly, this is the best option for a perfect match.
-
Paint Chips: Take a small chip (the size of a coin) to a paint store for precise color matching.
-
Finish Consistency: Ensure the sheen—matte, satin, eggshell, or semi-gloss—matches exactly. Differences in sheen can make touch-ups stand out even if the color is identical.
Apply Primer if Necessary
If the patched area exposes bare drywall or if you’ve sanded through the paint layers, applying primer is essential. Primer prevents flash spots (areas where paint absorbs differently) and ensures even coverage.
-
Use a small brush or roller to apply a thin coat of primer only to the repaired section.
-
Allow it to dry thoroughly before applying the touch-up paint.
Skipping primer can cause visible differences in texture and color once the paint dries.
Use the Right Technique for Painting
The way paint is applied plays a major role in achieving a professional finish.
-
Feathering Method: Start painting from the center of the repair and gradually blend outward, using light strokes to thin the paint at the edges.
-
Minimal Paint Load: Overloading the brush or roller can create heavy spots. Apply thin layers for better blending.
-
Multiple Thin Coats: If the first coat doesn’t fully cover the imperfection, let it dry and add a second thin coat.
Allow each layer to dry fully before deciding whether additional coats are necessary.
Blend with the Existing Wall Texture
Matching the wall’s texture is crucial for a seamless finish.
-
For smooth walls, a foam roller or high-density microfiber roller provides even coverage.
-
For textured surfaces, lightly dab with a sponge or stippling brush to replicate the existing pattern.
-
Always blend slightly beyond the repair area so the touch-up merges naturally with the rest of the wall.
Finishing Touches and Drying Time
After applying the final coat, resist the urge to touch the area while it dries. Even a light fingerprint can disrupt the finish.
-
Remove painter’s tape while the paint is still slightly damp to avoid peeling.
-
Keep the area well-ventilated but free of dust until completely dry.
-
Once cured, inspect the touch-up in different lighting conditions—natural daylight and artificial light—to ensure consistency.
Pro Tips for a Flawless Result
-
Always stir paint thoroughly before use to avoid color inconsistencies.
-
Test the paint in an inconspicuous spot first.
-
Avoid painting in very humid or extremely hot conditions.
-
Store leftover paint properly by sealing tightly and keeping it in a cool, dry location.
These small but important details make a significant difference in achieving a finish that looks like it was never touched.
Common Mistakes to Avoid
-
Skipping Surface Cleaning: Dust or grease can cause the paint to peel or bubble.
-
Using the Wrong Finish: Even a perfect color match will look off if the sheen doesn’t match.
-
Overlapping Too Much: Excess paint outside the damaged area can create noticeable patches.
-
Rushing the Drying Process: Not allowing each coat to dry properly can result in uneven color or streaks.
By avoiding these pitfalls, you’ll achieve a professional-level finish every time.
Maintaining Your Interior Paintwork
Regular maintenance helps minimize the need for future touch-ups.
-
Dust walls periodically with a microfiber cloth or soft duster.
-
Immediately clean spills or stains with a gentle, non-abrasive cleaner.
-
Place protective bumpers behind doors and furniture to reduce scratches and dents.
-
Keep a small amount of matching paint for quick fixes when accidents occur.
This proactive approach keeps your walls looking fresh and vibrant for years.
Why Choose Fitch Painting?
When the job demands flawless results, Fitch Painting stands as a trusted name for delivering high-quality finishes. Our commitment to precision, attention to detail, and use of premium materials ensures every project achieves an exceptional standard. Whether it’s a small touch-up or a complete transformation, Fitch Painting brings craftsmanship and reliability to every space, giving your interior walls a seamless, lasting finish.